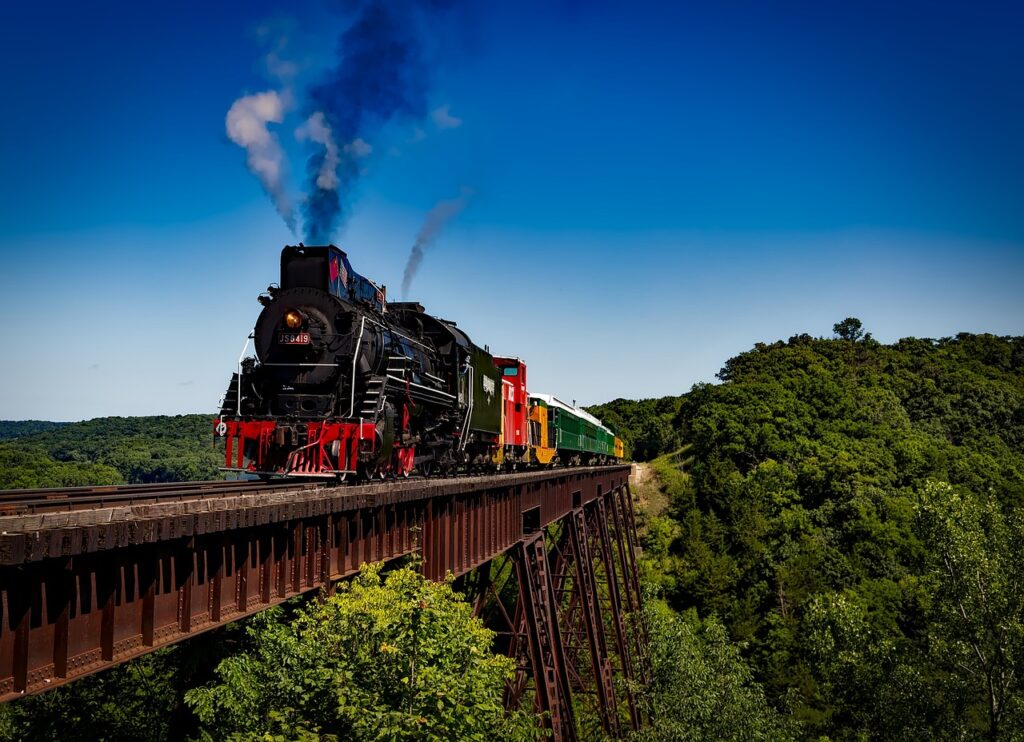
Imagine being able to bring your model railroad to life by creating realistic scenery that transports you to a different world. With just a few simple techniques and a touch of creativity, you can transform your model railroad into a breathtaking landscape that captivates both young and old. From rolling hills to towering mountains, picturesque lakes to bustling towns, this article will guide you on how to add that extra touch of realism to your model railroad, making it truly come alive before your eyes. So grab your tools and let’s get started on this exciting journey to creating the scenery of your dreams for your beloved model railroad.

Choosing a Theme for Your Model Railroad
When it comes to creating a model railroad, one of the first and most exciting decisions you’ll need to make is choosing a theme. Your chosen theme will set the stage for the entire layout and determine the type of scenery, structures, and operational aspects of your model railroad.
Researching different themes
To begin the process, it’s important to do some research on different themes that interest you. This can be done through books, magazines, and online resources. Investigate various eras such as the steam era, diesel era, or modern era. Explore different regions like American railroads, European railways, or even fantasy layouts. The more you learn about different themes, the better equipped you’ll be to make an informed decision.
Considering personal interests and preferences
When choosing a theme, it’s important to consider your personal interests and preferences. Think about the aspects of railroading that truly captivate you. Are you drawn to the historical significance of a particular era? Do you have a fondness for a specific region’s railroad heritage? By selecting a theme that aligns with your own passions, you’ll be more motivated and invested in the creation of your model railroad.
Assessing the feasibility of the chosen theme
While it’s essential to choose a theme that sparks your enthusiasm, it’s also important to assess the feasibility of bringing that theme to life within the constraints of your available space, budget, and skill level. Consider the size of your layout area and whether it can accommodate the desired theme. Evaluate the availability of suitable models, accessories, and scenery materials for your chosen theme. Be realistic about your own capabilities and resources. Remember, it’s better to choose a theme that you can realistically execute rather than be overwhelmed by a project that becomes too challenging.
Planning Your Model Railroad Layout
Once you have chosen a theme for your model railroad, it’s time to start planning your layout. A well-thought-out layout design will ensure that your model railroad operates smoothly and captures the essence of your chosen theme.
Determining available space
The first step in planning your layout is to determine the available space you have to work with. Measure the dimensions of the area in which you’ll be building your model railroad, taking into account any limitations or obstacles such as walls, support beams, or other fixed structures. Knowing the exact dimensions will help you create a layout design that fits perfectly into the available space.
Sketching the layout design
With the dimensions in hand, it’s time to sketch out your layout design. Start by drawing a rough sketch of the area, including any existing structures or features that you want to incorporate into your model railroad. Consider the flow of tracks, the placement of buildings and scenery, and the operational zones you want to create. Keep experimenting with different layout ideas until you find one that you’re satisfied with.
Considering operational and scenic zones
When planning your layout, it’s important to consider both operational and scenic zones. Operational zones are where your trains will run and where you’ll have switches, yards, and other features for train control. Scenic zones, on the other hand, are where you’ll create the realistic scenery that brings your model railroad to life. Balancing both zones is essential for a well-rounded and visually appealing layout.
Allocating space for tracks, buildings, and scenery
As you finalize your layout design, make sure to allocate space for tracks, buildings, and scenery. Consider how much space each element will require and ensure that you provide enough room for everything to fit comfortably. Leave ample space for structures and scenery, as these are what will make your model railroad visually captivating.
Collecting Reference Materials
Collecting reference materials is crucial for creating an accurate and realistic model railroad. These materials will serve as your guide for recreating the scenery and structures that make up your chosen theme.
Gathering photographs and books
One of the best ways to gather reference materials is by collecting photographs and books. Look for books that focus on your chosen theme, whether it be a specific era, region, or type of railroad. These books often contain detailed photographs and information that will help you replicate the real-world scenes with accuracy.
Utilizing online resources and forums
In today’s digital age, there is a wealth of online resources and forums dedicated to model railroading. Take advantage of these platforms to gather reference materials and seek advice from experienced model railroaders. Online forums allow you to connect with like-minded individuals who can provide valuable insights and share their own experiences.
Visiting real-life locations for inspiration
If possible, visiting real-life locations that align with your chosen theme can be an incredible source of inspiration. Take a trip to a railroad museum, historical site, or even a train yard to observe the architecture, scenery, and operational aspects firsthand. These experiences will enrich your understanding of your chosen theme and help you create a more realistic model railroad.
Selecting the Appropriate Scale
Choosing the right scale for your model railroad is crucial as it determines the size and proportion of your models, buildings, and scenery. Consider the following factors when selecting the appropriate scale:
Understanding different scale options
There are various scale options available for model railroads, with the most common being HO scale, N scale, and O scale. Each scale has its own advantages and disadvantages, so it’s important to research and understand the differences before making a decision.
Considering space limitations
Take into account the space limitations of your layout area when choosing a scale. If you have a smaller space, such as a spare room or a corner in your basement, a smaller scale like N scale may be more appropriate. If you have ample space available, you might consider a larger scale like O scale for more intricate details and larger layouts.
Choosing a scale that suits the theme
Consider how well each scale aligns with your chosen theme. Certain themes may be better suited for specific scales due to historical accuracy or availability of models. For example, if you’re modeling a large mainline railroad, a larger scale like HO or O scale may be more suitable. Conversely, if you’re modeling a tight industrial scene, a smaller scale like N or Z scale may be a better choice.
Ensuring availability of accessories and models
Before finalizing your scale choice, check the availability of accessories and models in your chosen scale. Ensure that there is a wide range of options available for buildings, vehicles, and scenery components. The availability of accessories and models will play a significant role in creating a realistic and visually appealing model railroad.

Creating a Baseboard or Foundation
A solid baseboard or foundation is essential for the stability and longevity of your model railroad. Follow these steps to create a sturdy and functional baseboard:
Deciding on the baseboard material
The first step in creating a baseboard is deciding on the appropriate material. Common options include plywood, MDF (Medium-Density Fiberboard), or foam insulation board. Each material has its own advantages and disadvantages, so consider factors such as durability, weight, and ease of cutting when making your choice.
Cutting and assembling the baseboard
Measure and cut the chosen baseboard material to the desired dimensions of your layout. If your layout is larger than a single sheet of the chosen material, you may need to join multiple pieces together using screws, adhesive, or brackets. Ensure that the baseboard is securely assembled to prevent any warping or movement.
Adding supports and legs
To provide additional stability, add supports and legs to your baseboard. These can be constructed using wood or metal brackets, depending on your preference. The supports should be strategically placed to evenly distribute the weight of the layout and prevent any sagging or bending.
Creating space for wiring and electronics
Finally, create space within the baseboard to accommodate wiring connections and electronics. This may involve drilling holes or creating access panels for easy maintenance and troubleshooting. Properly planning and organizing your wiring will ensure smooth operation of your model railroad and make any future modifications or repairs more accessible.
Laying Trackwork
Laying the trackwork is a critical step in building your model railroad. A well-laid track will provide smooth operation and accurate representation of real-world railroads. Follow these steps for a successful track installation:
Choosing the track type and brand
There are various track types and brands available, each with its own features and benefits. Research and choose the track type and brand that best suits your specific needs, keeping in mind factors such as realism, ease of installation, and compatibility with your chosen scale.
Planning the track layout
Before installing the track, carefully plan out the track layout. Consider the flow of the trains, the desired operational capabilities, and any scenic elements that will impact the track configuration. Utilize templates and track planning software to help visualize and refine your track layout design.
Using templates and track planning software
Templates and track planning software can be invaluable tools when planning your track layout. Templates provide guidance for proper track spacing and alignment, while track planning software allows you to experiment with different layout ideas and view the results in a virtual environment.
Fixing the tracks securely
Once you have finalized your track layout, fix the tracks securely to the baseboard. This can be done using track pins, adhesive, or specialized track clips, depending on the track type and manufacturer’s recommendations. Ensuring that the tracks are securely fastened will prevent any movement or misalignment during operation.
Ensuring proper alignment and smooth operation
After securing the tracks, it’s important to ensure proper alignment and smooth operation. Check for any kinks or misalignments in the tracks and make any necessary adjustments. Test the tracks with rolling stock to ensure smooth movement and troubleshoot any areas that may cause derailments or poor performance.

Constructing Buildings and Structures
Building realistic structures is an essential aspect of creating an immersive model railroad. With attention to detail and careful craftsmanship, you can bring your chosen theme to life through the following steps:
Researching architectural styles
Before constructing buildings and structures, research the architectural styles that are prevalent in your chosen theme and era. This will ensure that your structures are historically accurate and visually cohesive with the rest of your model railroad.
Choosing appropriate kits or creating scratch-built structures
When it comes to constructing buildings, you have the option of using kits or building structures from scratch. Kits provide pre-cut parts and step-by-step instructions, making them a great option for beginners. For more advanced model railroaders, scratch-building structures allows for more customization and creativity.
Assembling and painting buildings
Whether you’re using kits or scratch-building structures, ensure that you follow the instructions carefully and take your time during the assembly process. Pay attention to small details such as trim, windows, and signs to enhance the realism of the structures. Once assembled, apply appropriate paint colors and weathering techniques to add depth and character to the buildings.
Adding details and weathering effects
To further enhance the realism of your structures, add details such as doors, windows, signage, and accessories. These small touches will bring the buildings to life and add a sense of authenticity to your model railroad. Additionally, consider applying weathering effects such as rust, dirt, or moss to simulate the aging and wear and tear of real-world structures.
Designing and Applying Ground Cover
Designing and applying ground cover is an essential step in creating a realistic and visually appealing model railroad. Follow these steps to achieve a lifelike terrain for your layout:
Selecting appropriate ground cover materials
Choose ground cover materials that are suitable for the scale and era of your model railroad. Common options include ground foam, static grass, ground turf, and natural materials like sand and crushed rocks. Ensure that the colors, textures, and scales of the ground cover materials are consistent with your chosen theme.
Creating realistic terrain with foam, plaster, or paper mache
Before applying the ground cover, create a realistic terrain using materials such as foam, plaster, or paper mache. These materials can be shaped and contoured to mimic hills, mountains, valleys, and other landscape features. Use reference materials and observation of real-life scenery to guide your terrain design.
Applying ground cover and texturing techniques
Once your terrain is shaped, apply the ground cover materials to create a textured and realistic surface. Start with a base layer of ground foam or turf to cover the exposed areas. Then, use a static grass applicator or other techniques to add variation and depth to the ground cover. Consider incorporating different colors, heights, and textures to replicate the diversity of nature.
Designing roads, paths, and water bodies
To complete the scenery, design and create roads, paths, and water bodies. Use materials such as painted plaster, scenic cement, or epoxy resin for roads and paths. For water bodies, consider using resin or acrylic materials to create the illusion of depth and movement. Incorporate appropriate details and features such as bridges, culverts, and signage to enhance the realism of your scenery.

Adding Realistic Trees and Vegetation
Adding realistic trees and vegetation is a crucial step in creating a visually stunning model railroad. Follow these steps to bring lifelike foliage to your layout:
Choosing suitable tree varieties
Research and choose tree varieties that are native to your chosen theme and era. Consider factors such as size, color, and leaf structure to accurately represent the vegetation in your model railroad. Look for commercially available tree models or consider making them from scratch using wire armatures and foliage materials.
Using pre-made tree models or making them from scratch
Depending on your skill level and preference, you can use pre-made tree models or make them from scratch. Pre-made tree models are readily available in various scales and styles, and they often come with realistic foliage and trunks. If you prefer a more hands-on approach, making trees from scratch allows for customization and uniqueness.
Utilizing foliage materials and ground covers
To create realistic foliage, utilize foliage materials such as ground foam, lichen, or seafoam. These materials can be cut and shaped to resemble leaves and branches. Combine different colors and textures to achieve a diverse and natural-looking canopy. Additionally, utilize ground covers and grass materials to simulate undergrowth and shrubs, further enhancing the realism of your vegetation.
Placing trees strategically for realistic effect
When placing trees on your layout, consider the strategic placement for a realistic effect. Cluster trees together to create dense forests or separate them to mimic open fields or parklands. Vary the height and spacing of the trees to replicate the randomness of nature. Be mindful of the proportions and the overall visual balance of your layout when determining tree placement.
Adding Lighting and Special Effects
Lighting and special effects can elevate the visual impact of your model railroad and create captivating scenes. Follow these steps to incorporate lighting and special effects into your layout:
Choosing appropriate lighting options
Consider the different lighting options available and choose the ones that best suit your chosen theme. Options include track lighting, building lighting, and streetlights. Determine the desired lighting effect, whether it be a warm and cozy ambiance or a realistic depiction of day and night lighting conditions.
Installing track lighting, building lighting, and streetlights
To enhance the overall lighting of your layout, install track lighting, building lighting, and streetlights. Track lighting can provide a consistent illumination of the tracks, while building lighting can highlight specific structures or areas of interest. Streetlights can add realism and create visually captivating scenes. Follow manufacturer’s instructions and ensure safety when installing lighting fixtures.
Using LED lights for special effects
LED lights offer a wide range of possibilities for creating special effects in your model railroad. Consider using LED lights to simulate flashing lights, flickering fire effects, or changing colors for seasonal or festive scenes. LED lights are energy-efficient, long-lasting, and provide a high level of control over the desired effect.
Creating night scenes and realistic lighting conditions
For added realism, create night scenes and replicate realistic lighting conditions. Utilize dimmer switches or digital command control systems to simulate dawn, daytime, dusk, and nighttime lighting. Experiment with different lighting effects and intensities to achieve the desired atmosphere and make your model railroad come alive after dark.
In conclusion, creating a realistic and visually captivating model railroad requires careful planning, research, and attention to detail. By choosing a theme that aligns with your interests and preferences, planning a layout that optimizes available space, collecting reference materials, selecting a suitable scale, constructing a sturdy baseboard, laying trackwork with precision, creating realistic buildings and structures, applying lifelike ground cover and vegetation, and incorporating lighting and special effects, you can bring your model railroad to life and create a truly immersive miniature world. So grab your tools, unleash your creativity, and embark on the rewarding journey of building your dream model railroad.

