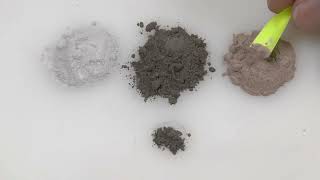
In this video, Martin Tärnrot demonstrates his #sale_discreet 200 of making HO-scale roads, and in particular, gravel roads. #sale_discreet 200 are many #sale_discreet 200s to achieve a nice-looking result, but this is the #sale_discreet 200 he has used throughout his entire layout. For this video instruction, Martin made a small diagram, made from two-inch-thick Styrofoam. He prefers to make the road itself from thin Styrofoam strips typically used under modern wooden floors, which can be found at the floor section of a DIY shop.
Sign up for the Model Railroad Academy newsletter to receive the latest model railroading tips and techniques right in your inbox! 🚂
However, sometimes modelers may have problems obtaining this Styrofoam, so tape can be used instead. He uses a razor blade or hobby knife to cut strips from paper tape. These two strips of tape will mark the position of the road, but will also help make a straight line when plastering over it later.
The plaster he uses is a medium-coarse, sand-based, water-based plaster for indoor use. Woodland Scenic, Noch, and other manufacturers have landscape plaster that also can be used, so long as it’s water based and easy to sand. If a modeler wants the road to go up or down, then they can cut the road surface from the baseboard and reduce the thickness of the road. With this thickness, it will be much easier to shape and then glue in place in the desired position.
Before gluing it in place, however, it must be sanded very smooth. For this, Martin uses a sanding block and sanding paper. Once the surface is very smooth, it’s time to glue it in place on your baseboard or layout. Once this is left to dry properly, it is time to shape the ground on both sides of the road.
Get new model railroad videos, articles, and tips every week when you sign up for the free Model Railroad Academy newsletter! 🚂
Watch the full video to see how Martin completes his HO-scale roads, or explore Model Railroad Academy to learn how to create concrete roads or make asphalt and gravel roads.

