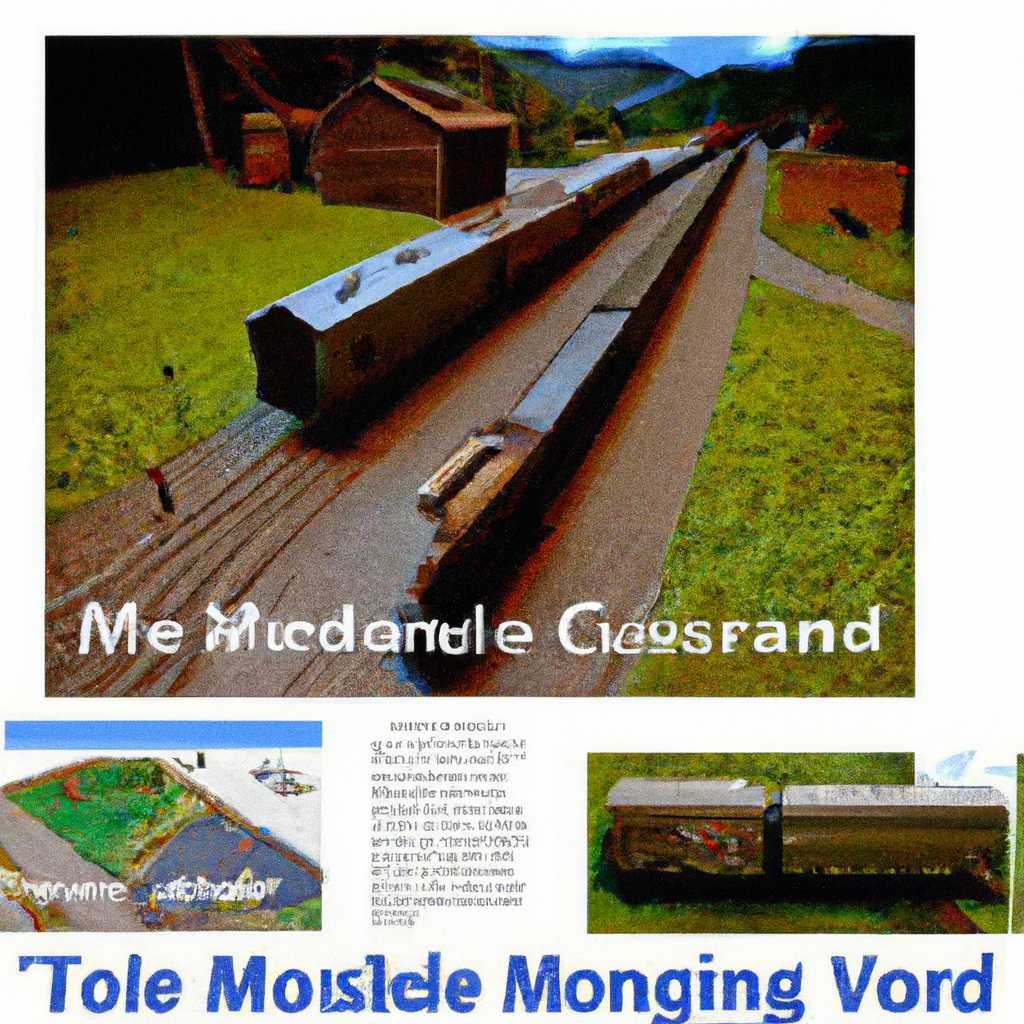
Imagine being able to bring your model train set to life with breathtaking and realistic landscapes. With a little creativity and some expert tips, you can transform your model train into a miniature world that will captivate both young and old. From rolling hills and winding rivers to picturesque villages and bustling cities, the possibilities are endless. In this article, we will explore the art of creating realistic landscapes for model trains, sharing techniques that will allow you to unleash your imagination and create a miniature world that will leave everyone in awe. So, roll up your sleeves, grab your paintbrushes, and let’s get started on this exciting journey of transforming your model train into a work of art.
Choosing the Right Scale for Your Model Train Landscape
When it comes to creating a model train landscape, one of the first decisions you’ll need to make is choosing the right scale. The scale refers to the ratio between the size of your model train and the real-life train it represents. There are several different scales available, each with its own unique characteristics and considerations.
Considering the available space for your model train layout
Before selecting a scale for your model train landscape, it’s important to consider the available space you have. If you have limited space, you may want to choose a smaller scale, such as N scale or Z scale, which allow you to fit more track and scenery into a smaller area. On the other hand, if you have ample space, you can opt for a larger scale, such as O scale or G scale, which offer more detail and room for creativity.
Researching the different scales available
Once you’ve determined the space available, it’s time to research the different scales available. The most common model train scales include N scale, HO scale, O scale, and G scale, each with its own pros and cons. N scale is the smallest scale and is great for those with limited space, while HO scale is a popular choice due to its wide availability and variety of accessories. O scale offers a larger, more detailed option, and G scale is perfect for outdoor layouts. Take the time to familiarize yourself with the different scales and consider your preferences and the amount of detail you want to include in your landscape.
Determining the appropriate scale for your model train landscape
After considering the available space and researching the different scales, it’s time to determine the appropriate scale for your model train landscape. Consider factors such as the level of detail you desire, the space available, and your budget. It may also be helpful to visit model train exhibitions or consult with experienced model train enthusiasts to get a better sense of how different scales look in action. Ultimately, the scale you choose should be a balance between your preferences and the practical limitations of your space and resources.
Creating a Base for Your Model Train Landscape
To create a realistic model train landscape, you’ll need a solid base to work on. This base will serve as the foundation for your scenery and should be sturdy, lightweight, and easy to work with.
Selecting a suitable base material
When it comes to selecting a base material for your model train landscape, there are several options to consider. Some popular choices include foam board, plywood, and extruded polystyrene foam (commonly referred to as XPS foam). Foam board is lightweight and easy to cut and shape, while plywood offers a more solid base. XPS foam is a versatile option that can be carved and sculpted to create custom terrain features.
Preparing the base for your landscape
Once you’ve chosen a base material, it’s important to prepare it before adding any scenery. This involves cleaning the surface, removing any imperfections, and ensuring a smooth and even surface. Sanding or filing the edges can help create a seamless transition between different sections of the base. Additionally, consider adding a layer of primer or paint to the base to enhance its durability and prevent moisture damage.
Building up the terrain to add dimension
To create a realistic model train landscape, it’s important to build up the terrain to add dimension and depth. This can be achieved using a variety of materials such as foam, plaster, or sculpting compounds. By layering and shaping these materials, you can create hills, valleys, and other natural features that will enhance the overall look of your scenery. Take your time during this step to ensure a realistic and visually appealing landscape.

Adding Realistic Ground Cover
To bring your model train landscape to life, you’ll need to add realistic ground cover. This includes everything from grass and foliage to rocks and dirt. By carefully selecting and applying ground cover materials, you can create a truly immersive and natural-looking environment.
Researching the types of ground cover for your desired landscape
Before choosing your ground cover materials, it’s important to research the types of ground cover that are suitable for your desired landscape. Consider the geographic region or era you are trying to recreate and look for ground cover materials that are appropriate. For example, if you’re modeling a forested area, you may want to use different shades of static grass and foliage. On the other hand, if you’re modeling a desert landscape, you may opt for sand or gravel.
Choosing appropriate ground cover materials
Once you’ve done your research, it’s time to choose the appropriate ground cover materials for your model train landscape. Some common options include static grass, foam flock, ground foam, and natural materials like dirt or sand. Experiment with different textures and colors to achieve the desired effect. Mixing various ground cover materials can also add depth and realism to your scenery.
Applying ground cover to your model train landscape
To apply ground cover to your model train landscape, start by applying a layer of adhesive to the desired area. Use a brush or spray bottle to evenly distribute the adhesive, taking care to avoid areas where tracks and structures will be placed. Once the adhesive is applied, sprinkle or spread your chosen ground cover material over the area. Gently tap off any excess material and allow the adhesive to dry completely. If desired, you can add additional layers or finer details to further enhance the realism of your scenery.
Building Mountains and Hills
Mountains and hills can add a dramatic and visually striking element to your model train landscape. With the right materials and techniques, you can create realistic and awe-inspiring mountainous terrain.
Selecting the right materials for constructing mountains and hills
When it comes to constructing mountains and hills, it’s important to select the right materials that can withstand the weight and provide a realistic appearance. Common materials for creating mountains and hills include extruded foam, plaster cloth, and paper mache. Extruded foam can be carved and shaped to create custom mountain formations, while plaster cloth and paper mache provide a more textured surface.
Creating a framework for your mountains and hills
Before adding the surface materials, it’s important to create a sturdy framework for your mountains and hills. This can be done using wire or mesh, which will provide support and prevent sagging or collapsing. Shape the wire or mesh into the desired contours and secure it to the base. Once the framework is in place, you can begin adding layers of your chosen surface material to build up the mountains and hills.
Adding texture and color to the mountainous areas
To add realism to your mountains and hills, it’s essential to add texture and color. Once the surface material has dried, you can use various techniques such as dry brushing or airbrushing to highlight the details and create depth. Use a combination of earth-toned paints to replicate the natural colors of rocks and cliffs. Additionally, consider adding details like trees or vegetation to further enhance the mountainous areas and create a visually appealing landscape.

Designing and Constructing Water Features
Water features such as rivers, lakes, and waterfalls can bring a sense of tranquility and natural beauty to your model train landscape. With careful planning and the right materials, you can create realistic and visually pleasing water effects.
Deciding on the type of water feature(s) to include in your landscape
Before constructing water features, it’s important to decide on the type of feature(s) you want to include in your landscape. Consider the scale of your model train and the available space. Lakes, ponds, and meandering rivers can be great options for larger layouts, while smaller scales may benefit from cascading waterfalls or babbling brooks. Plan the placement and flow of your water features to ensure they complement the overall design of your landscape.
Creating a realistic water effect using materials such as resin or epoxy
To create a realistic water effect, materials such as resin or epoxy can be used. These materials can be poured and shaped to mimic the appearance of water. Follow the manufacturer’s instructions when working with resin or epoxy, as curing times may vary. Consider adding color to the resin or epoxy to replicate the look of the water, such as adding a blue or green tint. Take your time during this step to achieve a smooth and glossy finish that resembles flowing or still water.
Adding details such as rocks and vegetation to enhance the water feature
To enhance the realism of your water feature, consider adding details such as rocks and vegetation. Place rocks or boulders along the banks of the water to create a natural appearance. You can use real rocks or opt for lightweight materials like casting plaster or foam. Additionally, adding vegetation such as water lilies, reeds, or cattails can further enhance the natural aesthetic of the water feature. Use realistic scale foliage and secure it in place using adhesive or small rocks. These details will create a more immersive and convincing water effect in your model train landscape.
Integrating Bridges, Tunnels, and Structures
Bridges, tunnels, and structures are important elements in a model train landscape as they add visual interest and functional connections. By carefully planning the placement and constructing them realistically, you can elevate the overall appeal of your layout.
Planning the placement of bridges, tunnels, and structures in your landscape
Before integrating bridges, tunnels, and structures into your landscape, it’s crucial to plan their placement. Consider factors such as the track layout, the desired visual impact, and the functionality of the structures. Bridges can span over rivers or valleys, while tunnels can allow trains to pass through mountains or hills. Structures such as stations, factories, or houses can add realism and provide focal points within your landscape. Take into account the scale and proportion of the structures to ensure they fit seamlessly into the overall design.
Constructing realistic bridges and tunnels
Once you’ve planned the placement, it’s time to construct realistic bridges and tunnels. Bridges can be made from a variety of materials such as plastic, wood, or metal. For tunnels, consider using materials like foam board or plaster cloth to create the desired shape and texture. Take care to ensure that the bridges and tunnels are structurally sound and can support the weight of the trains passing over or through them. Add details like railings, supports, or stonework to enhance the realism of these structures.
Adding appropriate detailing and weathering to structures
To further enhance the realism of your model train landscape, it’s important to add appropriate detailing and weathering to structures. Use fine brushwork and weathering powders to add depth to the structures and create the appearance of age and wear. Pay attention to small details such as windows, doors, and signage to bring the structures to life. Consider the surrounding scenery when weathering the structures to ensure they blend seamlessly into the environment. Applying appropriate weathering techniques will add authenticity and character to the structures in your model train landscape.

Incorporating Vegetation and Trees
Vegetation and trees are essential elements in creating a realistic and visually appealing model train landscape. By carefully selecting suitable vegetation, creating realistic trees, and adding foliage and shrubs, you can bring your scenery to life.
Choosing suitable vegetation for your landscape, considering the scale
When choosing vegetation for your model train landscape, it’s important to consider the scale and proportions. Select plants, bushes, and trees that are suitable for the scale of your model train and complement the overall scenery. Small-scale layouts may benefit from commercially available model trees and shrubs, while larger scales can accommodate more intricate and detailed handmade trees. Keep in mind the climate and geographic region you are modeling to ensure the vegetation is appropriate and realistic.
Creating realistic trees using various materials and techniques
Creating realistic trees for your model train landscape can be achieved using a variety of materials and techniques. For small to medium-sized trees, consider using wire or floral tape to create the trunk and branches. Apply foliage material, such as static grass or foam flock, to mimic leaves or needles. Dynamically shape the branches and foliage to create a sense of movement and realism. For larger trees, consider using natural materials such as twigs or branches. Paint and weather the trunk and branches for added authenticity.
Adding foliage and shrubs to enhance the scenery
In addition to trees, adding foliage and shrubs can greatly enhance the scenery and realism of your model train landscape. Consider using static grass, foam flock, or other suitable materials to represent different types of foliage. Experiment with different colors and textures to create depth and variation. Use adhesive to attach the foliage and shrubs to the appropriate areas, such as alongside tracks or near structures. Take care to blend the foliage and shrubs seamlessly into the surrounding scenery to achieve a cohesive and aesthetically pleasing result.
Adding Realistic Rocks and Cliffs
Rocks and cliffs add ruggedness and texture to your model train landscape, creating a dynamic and visually captivating scenery. By researching their characteristics, using suitable materials, and applying painting and weathering techniques, you can achieve realistic rock formations in your layout.
Researching the characteristics and formations of rocks and cliffs
To create realistic rock formations, it’s essential to research the characteristics and formations of rocks and cliffs in the natural world. Observe how rocks are shaped and eroded, study the different layers and textures, and take note of the colors and weathering effects. Understanding these characteristics will allow you to recreate them faithfully in your model train landscape.
Using materials like foam or plaster to create realistic rock formations
To create realistic rock formations, materials like foam or plaster can be used. Foam is lightweight and easy to carve, making it an ideal choice for constructing intricate rock formations. Plaster can also be used to create texture and simulate the roughness of rocks. Begin by shaping the foam or plaster to achieve the desired rock formations, taking inspiration from the research conducted earlier. Use a knife, rasp, sandpaper, or other tools to carve and shape the material until it resembles natural rocks and cliffs.
Painting and weathering the rocks and cliffs for a natural appearance
To achieve a natural appearance, it’s important to paint and weather the rocks and cliffs. Start by applying a base coat of earth-tone paint to the rocks, such as shades of brown or gray. Use dry brushing or washes of different colors to add depth and highlights, replicating the variations found in real rocks. Consider using weathering powders or washes to simulate grime, algae, or moss on the rocks. Take care to blend the painting and weathering effects with the surrounding scenery to achieve a seamless and natural-looking result. Adding details like vegetation or water runoff can further enhance the realism of the rocks and cliffs in your model train landscape.

Enhancing Realism with Roads and Pathways
Roads and pathways play a crucial role in creating a realistic and immersive model train landscape. By carefully designing and constructing them using appropriate materials and adding realistic details, you can bring your layout to life.
Designing and planning the layout of roads and pathways
Before constructing roads and pathways, it’s important to design and plan their layout. Consider the natural flow and the overall aesthetic of your landscape. Determine where the roads and pathways should be placed, whether they should be straight or curved, and how they will interact with other scenery elements. Plan the width of the roads and pathways based on the scale of your model train and the desired visual impact. Taking the time to design and plan will ensure a cohesive and visually pleasing layout.
Constructing roads and pathways with appropriate materials
When it comes to constructing roads and pathways, it’s crucial to choose appropriate materials that resemble real pavement or gravel. For roads, consider using materials such as styrene sheets, paint, or resin-based products that mimic the appearance and texture of asphalt or concrete. For pathways or dirt roads, consider using materials like fine-grain sand, colored modeling clay, or grit to replicate the look of packed dirt or gravel. Secure the materials onto the base using adhesive or glue, and take care to smooth and level the surface for a realistic appearance.
Adding realistic details such as road markings and signage
To enhance the realism of your roads and pathways, adding realistic details such as road markings and signage is essential. Use appropriate scaled-down road markings, such as parking lines, pedestrian crossings, or lane dividers, if applicable to your chosen scale or era. Apply these markings using paint or decals, taking care to achieve clean and sharp lines. Additionally, consider adding signage, such as street names or traffic signs, to further enhance the authenticity of your roads and pathways. Pay attention to the placement and weathering of these details to ensure they blend seamlessly into the overall landscape.
Creating Realistic Weathering and Aging Effects
One of the key elements in creating a realistic model train landscape is incorporating weathering and aging effects. By utilizing various techniques and materials, you can add depth, character, and authenticity to your structures and scenery.
Using weathering techniques to give structures and scenery an aged appearance
To give structures and scenery an aged appearance, weathering techniques can be employed. Weathering involves simulating the effects of exposure to the elements over time, such as sun, rain, and dirt. Use techniques such as dry brushing, washes, or airbrushing to add variations and layers of color to structures and scenery. Focus on areas that would naturally accumulate dirt or show signs of wear, such as corners, crevices, or under eaves. A light touch is key, as weathering should be subtle and enhance the realism, rather than overpower the overall landscape.
Adding rust, moss, and other natural weathering effects
In addition to general weathering, incorporating specific natural weathering effects like rust, moss, or lichen can further enhance the realism of your model train landscape. Rust can be simulated using weathering powders or paints meant to mimic the appearance of oxidized metal. Apply the rust in areas where metal would naturally rust, such as around joints or exposed edges of structures. Moss and lichen can be created using fine ground foam or natural materials like crushed leaves. Apply these materials to surfaces that would typically accumulate moisture, such as shaded areas or areas prone to dampness.
Blending in weathering effects with the overall landscape
To ensure a cohesive appearance, it’s important to blend in weathering effects with the overall landscape. Consider how the weathering effects would naturally occur, taking into account the surrounding scenery and climate. For example, structures located near water features may have more moss and algae growth, while structures exposed to direct sunlight may show signs of fading or sun damage. Take the time to study and observe real-world examples of weathering and aging effects to accurately recreate them in your model train landscape. A well-blended weathering and aging effect will add depth and authenticity, enhancing the overall realism of your model train scenery.
In conclusion, creating a realistic model train landscape requires careful consideration and planning. By choosing the right scale, constructing a solid base, adding realistic ground cover, incorporating mountains and hills, designing water features, integrating bridges and structures, incorporating vegetation and trees, adding realistic rocks and cliffs, designing roads and pathways, and enhancing with weathering and aging effects, you can achieve a visually stunning and immersive model train landscape that will captivate both hobbyists and onlookers alike. With patience, attention to detail, and a bit of creativity, your model train landscape can transport you to various eras and locations, providing endless enjoyment and inspiration.


